| openSUSE-Dokumentation Chapter 23. Managing Your Digital Image Collection / 23.2. Downloading Pictures from the Camera | ||||
|---|---|---|---|---|
 | Chapter 23. Managing Your Digital Image Collection | 23.3. Managing Albums |  | |
| openSUSE-Dokumentation Chapter 23. Managing Your Digital Image Collection / 23.2. Downloading Pictures from the Camera | ||||
|---|---|---|---|---|
| Chapter 23. Managing Your Digital Image Collection | 23.3. Managing Albums | | |
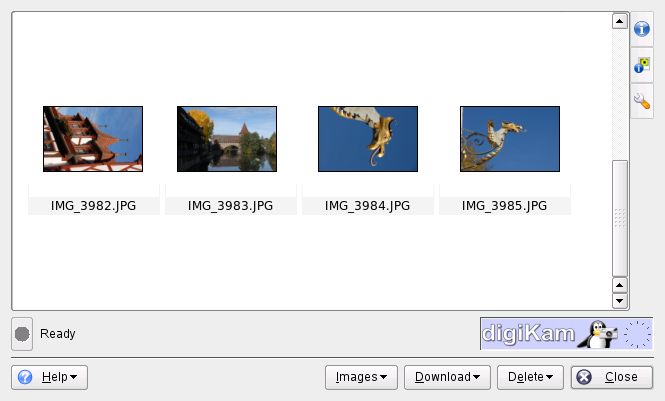
To download images from a camera that has been correctly configured, attach the camera to your computer and select the camera from the menu. digiKam opens a window and begins to download thumbnails and display them as in Figure 23.2, “Downloading Pictures from a Camera”. Right-click an image to open a pop-up menu with the options to the image, to , or the image. Select the tab to the right of the download window to rename the image files using . Review the EXIF data associated with the selected image using the tab.
![[Tip]](admon/tip.png) | Renaming Images |
|---|---|
Mass renaming of your images comes in handy if your camera's filenames are not meaningful enough for your purpose. Provide a unique prefix, add an optional date, and let digiKam provide a sequence number. | |
Select all images to download from the camera by pressing the left mouse button or by clicking individual images with Ctrl pressed or by using one of the select modes provided by the menu at the bottom of the download window. Click and select the destination from the list or create a new album with , which automatically suggests a filename with the current date. Confirm with to start the download process.
| Downloading Images from the Storage Medium |
|---|---|
To save your camera's battery power, you can also attach a USB hub to your computer providing an appropriate slot for your storage medium and download the files from there. Once the USB hub is connected to your computer, the KDE media handler dialog opens and offers to download the images from the medium you attached. | |