This section describes the conventions, layout, and common tasks of the GNOME desktop as implemented in your product.
GNOME is an easy-to-use graphical interface that can be customized to meet your needs and personal preferences. This section describes the default configuration of GNOME. If you or your system administrator modifies the defaults, some aspect might be different, such as appearance or keyboard shortcuts.
If more than one user account is configured on your computer, generally all users must authenticate—unless is enabled for a specific user. Auto login lets a user automatically log in to the desktop environment when the system starts. This feature can be enabled or disabled during installation or at any time using the YaST User and Group Management module. For more information, refer to Kapitel Verwalten von Benutzern mit YaST (↑Referenz). If your computer is running in a network environment and you are not the only person using the machine, you are usually prompted to enter your username and password when you start the system.
The program managing the login process is specific to the desktop environment installed on your system. For GNOME, it is GDM. If the KDE desktop is also installed on your system, it can be KDM.
The GDM login screen has the following items:
- Domain Menu
If you authenticate against an Active Directory server, choose the Windows* Domain to which you want to login. For all other authentication methods, choose .
- Login Window
, or your machine or login to the system. Select an existing user from the list or choose to manually enter a username. Type in the password and press Enter to login. Once a username is selected or entered, additional menus become available in the panel:
- Language Menu
Select a language for your session.
- Keyboard Menu
Select a keyboard layout for your session.
- Session Menu
Select the desktop to run during your session. If other desktops are installed, they appear in the list.
- Display Settings Menu
Change display settings such as resolution and refresh rate here.
- Access Preferences
Configure the use of assistive technologies using this menu. For details please refer to Chapter 4, Assistive Technologies .
A session is the period of time that you are actively logged in. During a session, you can use applications, print, browse the Web and so on.
The login screen offers several login options. For example, you can select the language of your session so that text that appears in the interface is presented in that language.
After your username and password are authenticated, the Session Manager starts. The Session Manager lets you save certain settings from each session. It also lets you save the state of your most recent session and return to that session the next time you log in.
The Session Manager can save and restore the following settings:
Appearance and behavior settings, such as fonts, colors, and mouse settings.
Applications that you were running. such as a file manager or an OpenOffice.org program.
![[Tip]](admon/tip.png)
You cannot save and restore applications that Session Manager does not manage. For example, if you start the Vi editor from the command line in a terminal window, Session Manager cannot restore your editing session.
If you installed both the GNOME and the KDE desktops, use the following instructions to switch desktops.
Click ++.
In KDE, click the button, then click +.
In KDE, click on the login screen and select the desktop you want. In GNOME, first select or enter a user and then choose a desktop from the menu.
Type your username, then press Enter.
Type your password, then press Enter.
To lock the screen, you can do either of the following:
Click +.
If the button is present on a panel, click it.
To add the button to a panel, right-click the panel, then click +.
When you lock your screen, a screen saver starts, locking the screen. To unlock the screen, move your mouse or press a key to display the locked screen dialog. Enter your password, then press Enter.
For information on configuring your screen saver see Section 3.3.4, “Configuring the Screen Saver”.
When you are finished using the computer, you can log out (leaving the system running), restart or shut down the computer. If your system provides power management you can also suspend your computer, making the next session start much faster than with a complete reboot.
Click +.
Select one of the following options:
- Log Out
Logs you out of the current session and returns you to the Login screen.
- Switch User
Suspends your session, allowing another user to log in and use the computer.
Click +.
Select one of the following options:
- Shutdown
Logs you out of the current session, then turns off the computer.
- Restart
Logs you out of the current session, then restarts the computer.
- Suspend
Puts your computer in a temporary state that conserves minimal power (“Suspend to RAM”). The state of your session is preserved, however, including all applications you have running and all documents you have open.
- Hibernate
Suspends your session, using no power until the computer is restarted (“Suspend to Disk”). The state of your session is preserved, however, including all applications you have running and all documents you have open.
As with other common desktop products, the main components of the GNOME desktop are icons that link to files, folders, or programs, as well as the panel at the bottom of the screen (similar to the Task Bar in Windows). Double-click an icon to start its associated program. Right-click an icon to access additional menus and options. You can also right-click any empty space on the desktop to access additional menus for configuring or managing the desktop itself.
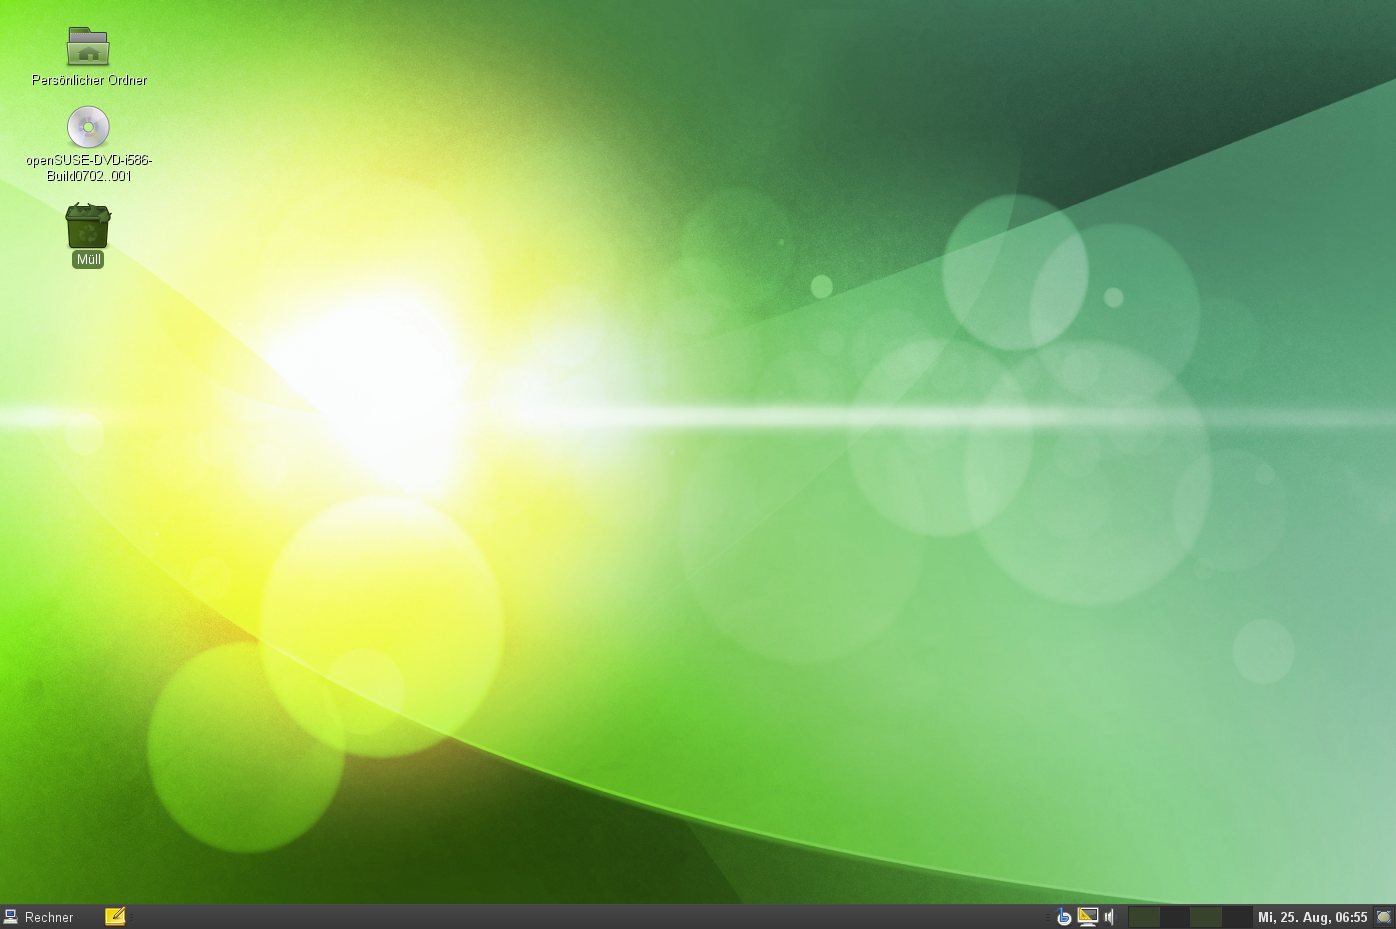
By default, the desktop features two key icons: your personal Home folder and a trash can for deleted items. Other icons may also be present on the desktop, such as icons representing devices on your computer. If you double-click your Home folder, the Nautilus file manager starts and displays the contents of your home directory (where your personal files and configurations are stored). For more information about using Nautilus, see Section 2.2, “Managing Folders and Files with Nautilus”.
Right-clicking an icon displays a menu that offers file operations such as copying, cutting or renaming. Selecting from the menu displays a configuration dialog. On the tab, you can change the name of the icon as well as the icon itself (by clicking on it and selecting a file with a different one). Various information about the object represented by the icon is also shown here. The tab lets you add up to four graphically descriptive symbols to the icon. The tab lets you set access permissions for the selected files. The tab lets you manage comments. The menu for the trash can also features the option, which deletes its contents.
A link is a special type of file that points to another file or folder. When you perform an action on a link, the action is performed on the file or folder to which the link points. However, when you delete a link, you delete only the link file and not the file that the link is referencing.
To create a desktop link to a folder or a file, access the object in File Manager by right-clicking the object and then clicking . Drag the link from the File Manager window and drop it onto the desktop.
To remove an icon from the desktop, simply drag it onto the trash can. The Home icon cannot be removed.
![[Warning]](admon/warning.png) | |
Be careful with this option - if you move folder or file icons to the trash can and you empty the trash can, the actual data is deleted. If the icons only represent links to a file or to a directory, only the links are deleted. | |
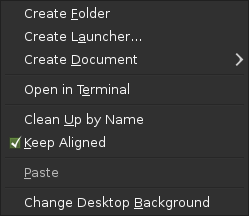
Right-clicking an empty spot on the desktop displays a menu with various options. Click to create a new folder. Create a launcher icon for an application with . Provide the name of the application and the command for starting it, then select an icon to represent it. Align the desktop icons by name with . With checked, icons are always arranged in a grid. You can also change the desktop background with this menu or open a terminal window.
The desktop includes a panel across the bottom of the screen. The bottom panel contains the (similar to the Start menu in Windows*), the taskbar showing the icons of all applications currently running as well as easy access to applications and applets. If you click the name of a program in the taskbar, the program's window is moved to the foreground. If the program is already in the foreground, a mouse click minimizes it. Clicking a minimized application reopens the respective window to foreground status.

The icon is on the right side of the bottom panel. This icon minimizes all program windows and displays the desktop. Or, if all windows are already minimized, it reopens them.
If you right-click an empty spot in the panel, a menu opens, offering the options listed in the following:
Table 1.1. Panel Menu Options
|
Option |
Description |
|---|---|
|
|
Opens a menu of applications and applets that can be added to the panel. |
|
|
Modifies the properties for selected panel. Using the property, you can move the panel to a different place of the screen. |
|
|
Removes the panel, along with all panel settings, from the desktop. |
|
|
Creates a new panel and adds it to the desktop. |
|
|
Opens the Help Center. |
|
|
Opens information window about the panel application. |
You can add applications and applets to the bottom panel for quick access. An applet is a small program, while an application is usually a more robust stand-alone program. Adding applets puts useful tools where you can easily access them.
The GNOME desktop comes with many applets. You can see a complete list by right-clicking the bottom panel and selecting .
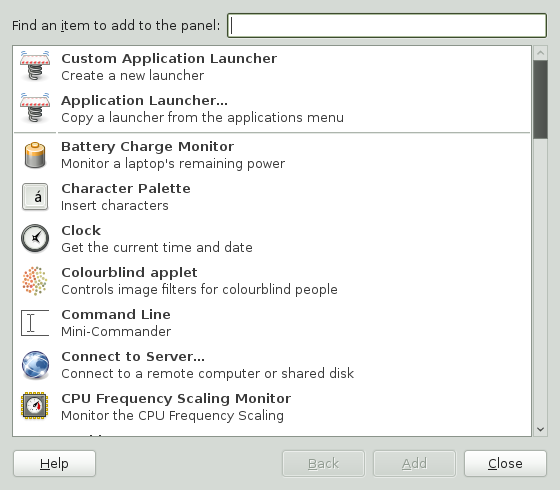
Some useful applets include the following:
Table 1.2. Some Useful Applets
|
Applet |
Description |
|---|---|
|
Dictionary Look up |
Look up a word in an online dictionary. |
|
Force Quit |
Terminate an application. This is especially useful if you want to terminate an application that is no longer responding. |
|
Search for Files |
Find files, folders, and documents on the computer. |
|
Sticky Notes |
Create, display, and manage sticky notes on your desktop. |
|
Traditional Main Menu |
Access programs from a menu like the one in previous versions of GNOME. This is especially useful for people who are accustomed to earlier versions of GNOME. |
|
Weather Report |
Display current weather information for a specified city. |
|
Workspace Switcher |
Access additional work areas (or workspaces) through virtual desktops. For example, you can open applications in different workspaces and use them on their own desktops without the clutter from other applications. |