| openSUSE-Dokumentation Chapter 11. Kontact: E-Mailing and Calendaring / 11.2. Mail | ||||
|---|---|---|---|---|
 | Chapter 11. Kontact: E-Mailing and Calendaring | 11.3. Contacts |  | |
| openSUSE-Dokumentation Chapter 11. Kontact: E-Mailing and Calendaring / 11.2. Mail | ||||
|---|---|---|---|---|
| Chapter 11. Kontact: E-Mailing and Calendaring | 11.3. Contacts | | |
Kontact uses KMail as its e-mail component. You can also start it separately with the command kmail. To configure it, open the mail component then select +. KMail is a fully-featured e-mail client that supports a number of protocols.
KMail can manage multiple e-mail accounts, such as your private e-mail and your business ones. Creating separate identities for your different e-mail accounts allows you to associate different sender addresses, cryptography settings and signatures with each of them. To create an identity, select + and choose +. Determine whether to create a new identity from scratch, use the user settings from +, or whether to duplicate an existing identity.
To create a new identity from scratch, enter the name of the new identity and enter your name, organization and e-mail address in the tab. Optionally, configure one or several of the following options:
Set the keys to use for signing and encrypting messages. For the encryption to work, first create a key with KGpg, as described in Chapter 9, Encryption with KGpg.
Enter a default reply-to and a default blind carbon-copy address, choose a dictionary, select the folders for draft, sent messages, and templates, and define by which sending account the messages should be sent.
Define templates to use for new messages, for default replies to senders and lists, and for forwarded messages. To use templates activate , first.
Click first to use it. Decide how your messages should be signed. Use the input field below to configure your signature or obtain it from a file or the output of a command.
Use this tab to include a picture in the X-Face format in your messages. X-Face can only hold black and white images with a dimension of 48 × 48 pixels. You can obtain the picture from an external source or of the input field below.
Before you can send or receive e-mails, create one or several accounts. The settings under determine how Kontact receives and sends e-mail. Many of these settings vary depending on the system and network in which your mail server is located. If you are not sure about the settings or items to select, consult your ISP or system administrator.
Start Kontact and select ++.
Create an incoming account by clicking on the tab:
Click and choose the account type. The following dialog box shows only the respective entries of your selected type.
If you have selected POP3, IMAP or disconnected IMAP, enter username, password and hostname. Depending on the chosen account type, configure additional parameters such as the mail checking interval, the hiding folders, security settings, and others.
If you selected local mailbox or maildir mailbox, enter the folder location.
Proceed with .
Create an outgoing account by clicking on the tab and click to choose either or :
If you select SMTP, enter an account name, the host name of the SMTP server. Should the server require login and password, also check and enter the required credentials. Optionally, configure additional security settings using the tab.
If you select Sendmail, no further configuration efforts are required.
Apply your settings and leave the account configuration dialog with .
To compose new messages, select + or click the corresponding icon in the toolbar. To send messages from different e-mail accounts, select one of the identities as described in Section 11.2.1, “Configuring Identities”. Select + to show a popup menu. In , enter an e-mail address or part of a name or address in your address book. If Kontact can match what you enter to something in the address book, a selection list opens. Click the desired contact or complete your input if none matches. To select directly from the address book, click the button next to the field.
To attach files to your message, click the paper clip icon and select the file to attach. Alternatively, drag a file from the desktop or another folder to the window or select one of the options in the menu. Normally, the format of a file is recognized correctly. If the format is not recognized, right-click the icon. From the menu that appears, select . Set the format and filename in the next dialog and add a description. In addition, decide whether the attached file should be signed or encrypted.
When you are finished composing your message, send it immediately with
+ or move it to the outbox with +.
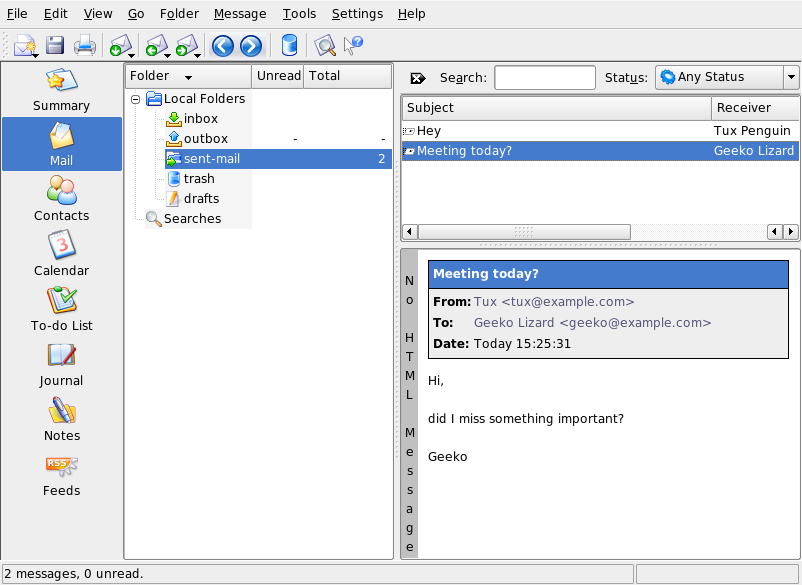
If you send the e-mail, the message is copied to
sent-mail after having been sent successfully.
Messages moved to the outbox can be edited or
deleted.
Message folders help organize your messages. By default, they are
located in the ~/.kde/share/apps/kmail/mail
directory. When starting KMail for the first time, the program creates
several folders. If you are using IMAP, the IMAP folders are listed
below the local folders. Each incoming mail server has its folders in
the Folder list.
If you want to organize your messages in additional folders, create new folders by selecting +. This opens a window in which to specify the name and format of the new folder.
Right-click the folder for a context menu offering several folder operations. Click to specify the expiration date for read and unread messages, what should happen with them after expiration, and whether expired messages should be deleted or moved to a folder. If you intend to use the folder to store messages from a mailing list, set the necessary options under +.
To move one or several messages from one folder to another, drag them from the upper window and drop them into the appropriate folder in the left window. Messages can also be moved by highlighting the messages then pressing M or selecting +. In the list of folders that appears, select the folder to which to move your messages.
Additionally, you can add folders to the pane. This enables you to go quickly to your frequently used mail folders, especially if your folders are deeply structured. Choose the respective folder and select .
E-mail is an insecure medium as anyone could theoretically read your e-mails or send some in your name. By signing your e-mails you enable the recipient of your e-mails to verify the sender of the messages as the key used to sign is only available to you. By encrypting the contents of your e-mails make sure that they can only be read by the recipient. KMail supports both the signing and encryption of e-mails.
Set up KMail for signing and encrypting e-mails:
Generate a key pair as described in Section 9.2, “Generating a New Key Pair” and export your public key as described in Section 9.3, “Exporting the Public Key”.
Configure the details of the encryption procedure in KMail:
Start KMail and go to ++.
Select the identity under which to send encrypted and signed messages. Click and proceed to .
Change the by clicking on and selecting your key from the dialog box.
Change the by clicking on and selecting your key from the dialog box.
Apply your settings and leave the configuration dialog with .
Sign your e-mails to allow the recipient to verify whether these have really been sent by you. KMail uses your private key to sign your messages and the recipient can verify the signature using your public key available on key servers. To sign an e-mail, proceed as follows:
Compose your e-mail as usual.
Select +.
Select + to create an attachment to your e-mail containing your public key.
Send your message as usual via + and enter your key's passphrase when prompted. KMail signs your message using your private key and the recipient can verify the signature by the public key attached to your message.
Use encryption on your e-mails whenever you want to make sure that only the recipient can read the contents. To be able to exchange encrypted e-mails with another party, get the appropriate public key and use it to encrypt your message. At the other end, the private key is then used to decrypt the contents of your message. Of course, you can use both signatures and encryption on your messages.
To send an encrypted e-mail, proceed as follows:
Start KGpg with Alt+F2 and entering kgpg.
Get the recipient's public key:
If you get it directly from the recipient, import the key with KGpg via +.
Access a public key server and import it from there. Select in KGpg +, and search for the key. Select the respective key and import it into your keyring.
Compose a new message.
Select +. If you want additionally sign it with your key, select the respective menu entry.
Send the mail.
Check whether all keys are correct.
Enter your passphrase.
To import e-mail from other applications, select + from the mail view in Kontact. It currently features import filters for Outlook Express, the mbox format, e-mail text format, Pegasus Mail, Opera, Evolution, and more. The import utility can also be started separately with the command kmailcvt.
Select the corresponding application and confirm with . A file or a folder must be provided, depending on the selected type. KMail then completes the process.
Filters are a convenient method of automatically processing incoming mail. They use aspects of the mail, such as sender or size, to move mail to certain folders, delete unwanted mails, bounce mails back to the sender, or perform a number of other actions.
To create a filter based on an existing message, right-click the desired message then select and the desired filter criteria. To create a filter from scratch, select +.
Select the match method for filter criteria (all or any). Then select criteria that applies only to the desired messages. In , set what the filter should do to the messages that meet the criteria. The tab provides control over whether the filter is applied for specific accounts only.
Filters are applied in the order listed in the dialog accessed with +. Change the order by selecting a filter and clicking the arrow buttons. Filters are only applied to new incoming messages or sent messages as specified in the filter's advanced options. To apply filters to existing messages, right-click the desired messages and choose + and the desired filter.
If your filters do not act as expected, monitor them with +. When logging is enabled in this dialog, it shows how messages are processed by your filters and can help locate the problem.