| openSUSE-Dokumentation Part I. OpenOffice.org Novell Edition and Other Office Applications / Chapter 8. Taking Notes with Tomboy | ||||
|---|---|---|---|---|
 | 7.3. For More Information | 8.2. Searching All Notes |  | |
| openSUSE-Dokumentation Part I. OpenOffice.org Novell Edition and Other Office Applications / Chapter 8. Taking Notes with Tomboy | ||||
|---|---|---|---|---|
| 7.3. For More Information | 8.2. Searching All Notes | | |
Contents
Tomboy is a GNOME desktop application for taking notes that gives you the ability to organize the ideas and information you deal with every day. Among other things, it can help you collect and sort all kind of data, write down your ideas, make to do lists, and allocate your contacts.
Tomboy also has some useful editing features to help you customize your notes, including:
Highlighting search text
Inline spell checking
Auto-linking Web and e-mail addresses
Undo/redo support
Font styling and sizing
Bulleted lists
Tomboy is located on the GNOME panel (![]() ), and by default, is started automatically when you
log into GNOME. You can also access Tomboy by clicking +++.
), and by default, is started automatically when you
log into GNOME. You can also access Tomboy by clicking +++.
This sections contains the following information
To create a new note, click the Tomboy Notes icon (![]() ) in your GNOME Panel, then select .
) in your GNOME Panel, then select .
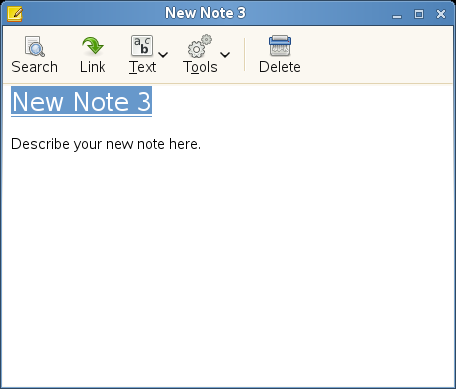
To edit the note, click the content area, then use the keyboard to add
and remove content. The first line of the note holds the title. By
default, this is populated with the text New Note
. You can change the title by
clicking the line and using the keyboard to change the title. By default,
focus is given to the content area upon creation of a new note, so you
can immediately start editing the note without clicking the content area.
For more information on formatting the contents of a note, see
Section 8.5, “Formatting Text in Notes”.
#
Your note is saved automatically.
You can then organize the notes you create by linking related notes and ideas together. Fore more information, see Section 8.3, “Linking Notes”.