| openSUSE-Dokumentation Chapter 7. Getting Started with BasKet / 7.2. Working with Baskets | ||||
|---|---|---|---|---|
 | Chapter 7. Getting Started with BasKet | 7.3. For More Information |  | |
| openSUSE-Dokumentation Chapter 7. Getting Started with BasKet / 7.2. Working with Baskets | ||||
|---|---|---|---|---|
| Chapter 7. Getting Started with BasKet | 7.3. For More Information | | |
After creating your baskets and sub-baskets, fill them with different notes. Notes can include different types of data, for example text, images, URLs, application launchers as well as links, e-mail addresses, files and colors.
To insert notes into baskets, just right-click the area on the right side and choose the type of data you need to add. You can import screen shots or colors picked from the screen into your baskets. For a screen shot, select +. To select a screen color, use +.
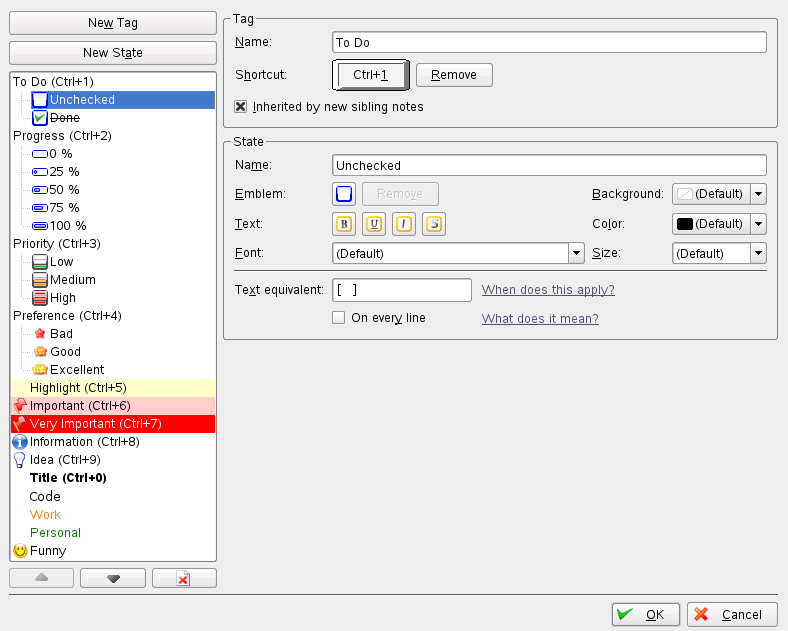
You may want to assign tags to your notes to structure them. Tags are marks that represent the priority, preference, or progress of a note. Select and simply check or uncheck the tags to assign or remove them from the selected notes. Customize the available tags by selecting +.
To group notes that belong together select the ones you want to group, right-click on them and select . To break up a group of notes, make sure you selected the whole group of notes, then right-click and select .
You can move a note within a group of notes by selecting +. If you want to move a note from within a group of notes outside it, select +.
If you worked with other note-taking applications in the past and do not want to lose the collected information, import these files to BasKet. You can import data from the applications KNotes, KJots, and StickyNotes. To do that, right-click either in the tree structure on the left side or directly on the basket into which you want to import the notes and select .
After collecting and sorting a lot of data, you might want to share it with other people. There are two ways to prepare your notes for sharing:
Export a basket into HTML files by right-clicking the basket you want to export and selecting +.
For others to be able to open and modify your baskets, export them into basket archives. Right-click the basket you want to export and select +.
There might be baskets that you want to protect with a password so you are the only person who can access them. To protect a basket using a password or private and public keys Right-click the basket and select .
Once you have several baskets, finding specific data can be challenging. You have different possibilities to find the information you are looking for very quickly even without remembering its exact title:
Find notes by simply typing a word or two in the filter box.
If you are searching for notes with a certain tag assigned to them, select the desired tag in the tag box.
The icon on the right applies a filter to every basket.
The numbers in the basket tree on the left indicate how many notes match your search options. The lock icon indicates that the basket is currently locked, so has not been searched. For more information, see Section 7.2.3, “Protecting Baskets”.
Basket can backup your data for you. Select + to open a dialog box. It shows you where your baskets are stored in. You can select a different folder when you select the buttons or , depending on your need. Start the backup process with and give your archive a name. A previously backup can be restored with and select the respective archive.