| openSUSE-Dokumentation Chapter 23. Managing Your Digital Image Collection / 23.4. Managing Tags | ||||
|---|---|---|---|---|
 | 23.3. Managing Albums | 23.5. Creating Powerful Search Filters |  | |
| openSUSE-Dokumentation Chapter 23. Managing Your Digital Image Collection / 23.4. Managing Tags | ||||
|---|---|---|---|---|
| 23.3. Managing Albums | 23.5. Creating Powerful Search Filters | | |
Managing lots of different images across various albums can be a nightmare. To manage your images by custom categories and across albums, digiKam provides the system. Tags categorize images and more than one tag can be assigned to an image.
For example, assume that you took several pictures of your friend, Joe, and distributed them across various albums. Now you are looking for an easy way to generate an overview of all pictures ever taken of Joe. Using digiKam's tags, proceed as follows for this scenario:
Select + in the upper menu bar and enter a name for the new tag,
in this case Joe.
The dialog box allows you to create hierarchical tags, too. For
example, to have a Joe tag which is underneath a
People tag, insert People/Joe
into the text field. Provide an optional icon and leave this dialog
with .
Go to each album and tag all images showing Joe by right-clicking the image and selecting +.
If you need to process a huge number of images, an easier way to do the tagging would be using the tab from the tab bar at the right edge of the main window. This interface allows you to assign tags to this image, enter an optional descriptive comment, and rate this image. When you are done with the first image, stay in this dialog, click the right arrow button, and click when finished to apply your settings. Do it with all your images of this album. Proceed similarly with all other albums and images.
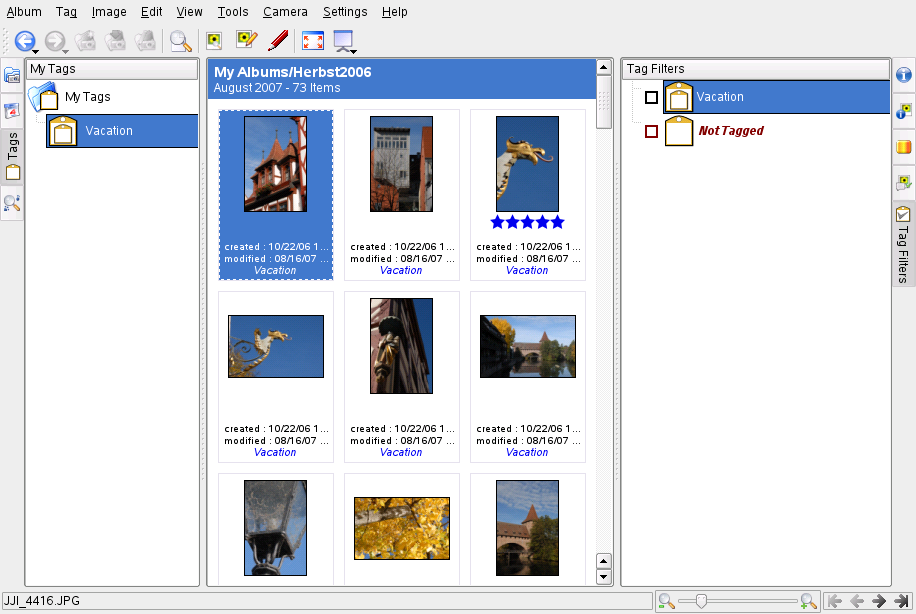
To retrieve all images in your entire collection that carry a certain tag
(in this case Joe), proceed as follows:
Open the tab in the left tab bar.
Unfold the item.
Select the tag.
As a result, all images in your entire collection carrying this tag are displayed.
The in the rightmost edge of the main window limits the number of images displayed for the current album to those marked by the tag or tags selected here.